These instructions will guide you through creating a conference schedule. The schedule can be used by one teacher or it can be set up as the master schedule. A master schedule is the one conference schedule that is copied to the staff. Creating and copying a master schedule is useful when most/all of the teachers in your school have conferences on the same date/time.
(We also have a video tutorial available. Unlike Netflix, your boss won’t mind if you watch it during work.)
Creating a conference schedule was designed to be an intuitive process, but we have detailed step-by-step instructions here to help you along.
- Log in
- In the “Options for [your name]” menu, select “Create a New Schedule.”
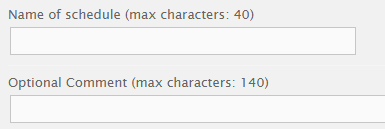
- Give the schedule a title (required) and add a comment/instructions (optional).
Examples of a title: Fall Conferences, October Conferences, May Assessment Meetings.
Examples of a comment: Please meet in Room 123; I look forward to meeting you; Please bring the social studies notebook to the conference; or the field can just be left blank.
- Specify if you want your schedule to be visible to parents immediately (click yes) or hidden from parents (click no). If schedules are hidden, they will need to be made available later so that parents can view conference schedules. This can be done easily on the Schedule Summary page.

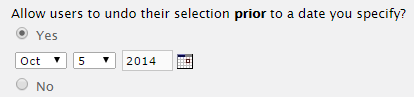
- Specify if you want parents to be able to cancel their conference online. If you click “yes,” you will then be prompted to select a cut-off date. The date allows parents to cancel their conferences online prior to the cut-off date. For example, if conferences are October 7, then you might allow parents to cancel online prior to October 5. If you don’t care that parents cancel online the day of conferences and your conferences are October 7, make October 8 your cut-off date.
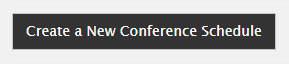
- Click on the button to create the new schedule. This creates a blank schedule. You’ll add the actual time slots in the next steps.
- Click on the calendar icon to select the date of your conferences. If you have multiple dates of conferences, enter one of the dates here. You can add the other dates (even if they have different times) to this schedule later.

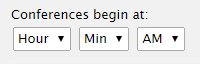
- Use the drop-down menus to select the starting time for your conferences.
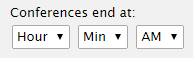
- Use the drop-down menu to select the ending time for your conferences. This is when conferences are over; it is not the starting time of the last conference.
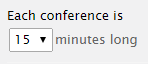
- Specify the length of each conference. If you need longer times than those that appear in the drop-down list, just let us know.
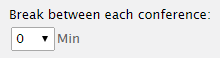
- If you have a break between each conference, include it here. (Some schools allow a few minutes between each conference for parents to find the next teacher or for teachers to prepare for the next conference, but most schools keep this value set to 0 so that conferences immediately after the preceding conference.)
- Specify the number of openings for each time slot. If the teacher will meet with the parents of one student at a time, this value should be set to 1. If the teacher can meet with several students’ parents at one time (for example, student-led conferences where several conferences can occur simultaneously), this value can be higher than 1.

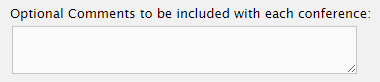
- Any comments for each individual conference? Typically this is left blank, but some schools have different requirements or instructions based on the date/time of conferences (student teacher will be assisting, ELL teacher will be available, etc.).
- Look over your date/times/# of openings one more time. If you’re satisfied, click on the button to add your conferences.

- You will see green confirmation boxes showing that each time slot has been added. If you have another date to add, you can use the form that appears below the green boxes to select a new date, new times, etc. Or if you only have one day of conferences, congratulations – your schedule is finished.
Once the schedule is created, one more thing to consider:
- Is there a set time for teachers to take breaks? If so, the time slot can be deleted, or the number of available slots for that particular time can be set to 0 so that parents can not sign up for that particular time slot.
If you are an admins creating the master schedule: Are you ready to copy the schedule to your staff members? IMPORTANT: You want to make sure everything on the master schedule is exactly how you want it to be prior to duplicating it. Once you copy it to all of your staff members, any edits will need to be made to each individual staff member’s schedule, not just the master schedule. It’s similar to making a mistake on a sheet of paper and then photocopying the paper; the mistake needs to be corrected on each copy. We recommend having one or two colleagues look over the conference schedule prior to moving on to the next step.